Guide
Getting Insulation and the Vapour Barrier Right
Insulation gets the credit, but the vapour barrier is what saves the wall. This guide covers the cold-climate envelope layer by layer and the sealing details that prevent hidden moisture damage.
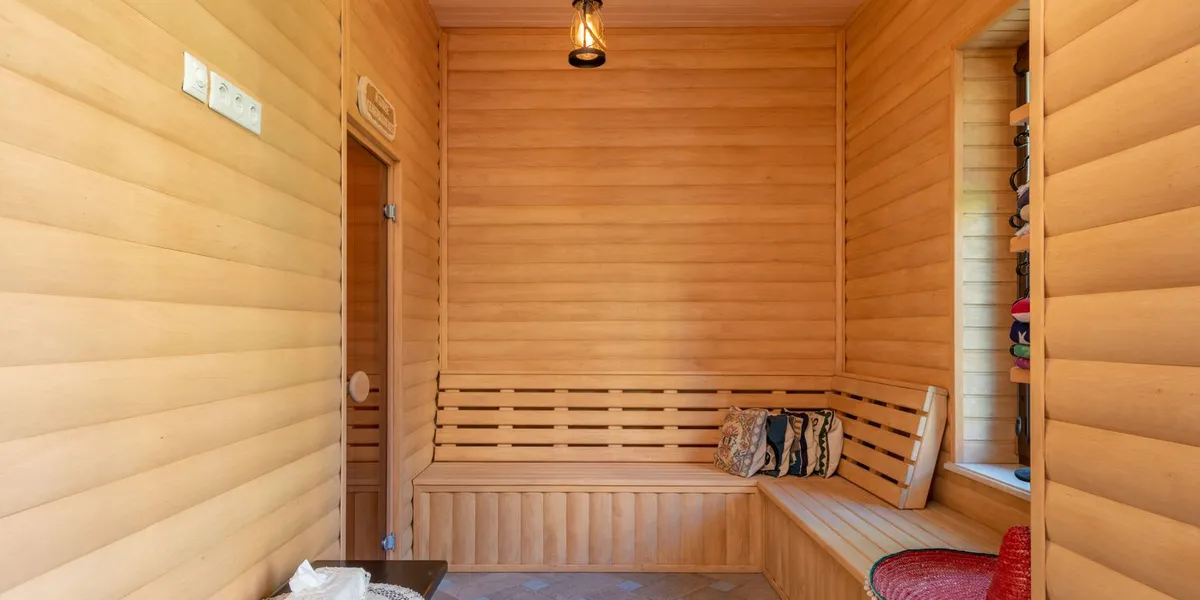
Ask what makes a cold-climate sauna succeed and most people say “insulation.” That is half right. Insulation lets a modest heater hold temperature, but the detail that actually saves the building is the vapour barrier — and it is the one most often gotten wrong. This guide walks through the cold-climate envelope layer by layer, with the sealing details that prevent slow, hidden moisture damage.
The insulated envelope, in order
A framed cabin, cube or shed carries insulation in the wall, roof and often the floor cavities. From inside to out, a typical cold-climate wall reads:
- Timber lining (cedar, thermowood, spruce)
- A ventilated batten cavity behind the lining
- A continuous, sealed vapour barrier
- The insulated stud cavity (commonly mineral wool)
- A breathable exterior membrane
- A ventilated rainscreen cavity
- Exterior cladding
Get those layers and their order right and the heater’s job becomes easy. The cold-climate insulation guide covers the thermal reasoning; this guide focuses on the two layers people botch: the barrier and the rainscreen.
Why the vapour barrier matters most
Sauna air is hot and very humid. Left alone, that moisture will drive into the walls, reach the cold outer layers, condense, and over time rot the structure and destroy the insulation from within — often invisibly, until the damage is real. The defence is a continuous vapour barrier — usually a foil membrane — on the warm (interior) side of the insulation, with every seam, joint and penetration taped and sealed.
The word that matters is continuous. A beautifully insulated wall with a leaky barrier will still trap moisture, because humid air finds the gaps. The most common entry in the archive’s “planning mistakes” sections is a discontinuous or punctured vapour barrier — around a light fitting, at a window frame, where two sheets meet, at the wall-to-ceiling junction. Continuity beats every other single detail.
Sealing the tricky spots
Most barrier failures happen at the same handful of places, so treat them with care:
- Sheet overlaps — lap generously and tape the full seam, do not just butt the edges.
- Penetrations — light fittings, vents and the heater’s fixings should be sealed where they pass through the barrier, or avoided on the barrier plane where possible.
- Window and door frames — detail the barrier tightly to the frame, and pair it with a thermal break so the frame stays warm and dry.
- Wall-to-ceiling and wall-to-floor junctions — carry the barrier around the corner continuously rather than stopping it at the joint.
The rainscreen: drying the outside
On the exterior, a ventilated rainscreen — cladding held off the structure by battens, over a breathable membrane — lets any water that gets behind the boards drain and dry rather than sitting against the wall. This matters everywhere and especially in damp and coastal settings. Cedar and thermowood are favoured here for their stability and rot resistance; see the interior and exterior wood guide.
Insulation itself
Compared with the barrier, the insulation is the straightforward part: a mineral-wool cavity in the framed walls and roof, with the depth and product sized to the climate and your build design. The archive grades the result from cold-climate insulated to high-performance for the coldest regions. More insulation means quicker warm-up and lower running costs; the practical limit is cost and diminishing returns, not performance. What you must not do is add insulation while cutting corners on the barrier — that is the combination that rots walls.
Do not over-ventilate the cavity, either
A note of balance: the interior vapour barrier stops room air entering the cavity, while the exterior rainscreen lets any incidental moisture escape. The cavity should be able to dry outward. This “warm side sealed, cold side breathable” principle is the whole logic of the assembly. Follow it, keep the barrier continuous, lift the floor clear of the ground, and the envelope will keep the sauna efficient and the structure sound for decades. As always, confirm the specific assembly and materials with your build design and local requirements.
Frequently asked questions
Where does the vapour barrier go in a sauna wall?
On the warm (interior) side of the insulation, behind the timber lining. Its job is to stop hot, humid interior air from driving into the wall, where it would reach the cold outer layers and condense.
Can I skip the vapour barrier if the sauna is well ventilated?
No. Ventilation manages the air in the room; the vapour barrier protects the wall cavity. They do different jobs, and a sauna needs both. A missing or punctured barrier is the most common cold-climate mistake.
What insulation is used in an outdoor sauna?
Typically a mineral-wool cavity insulation in the framed walls and roof, sized to the climate. The exact product and depth should follow your build design and local requirements.
Do barrels need a vapour barrier?
Most barrels are lightly insulated and rely on their mass and geometry, so they are detailed differently from a framed cabin. This guide is aimed at framed cabin, cube and shed construction.
What happens if the vapour barrier is discontinuous?
Humid air leaks into the cavity through the gaps, condenses against the cold outer layers, and over time rots the structure and ruins the insulation — often invisibly until real damage is done. Continuity is everything.
Added to the catalogue on . Catalogue Editorial Team at Outdoor Sauna Index.